Framing a Product Reveal on Stage in the Darker Months
Short days and early evening events change how a reveal looks on camera. Marcus Delaney explains how to place cameras and frame speakers so autumn launches read clearly.
5 min read
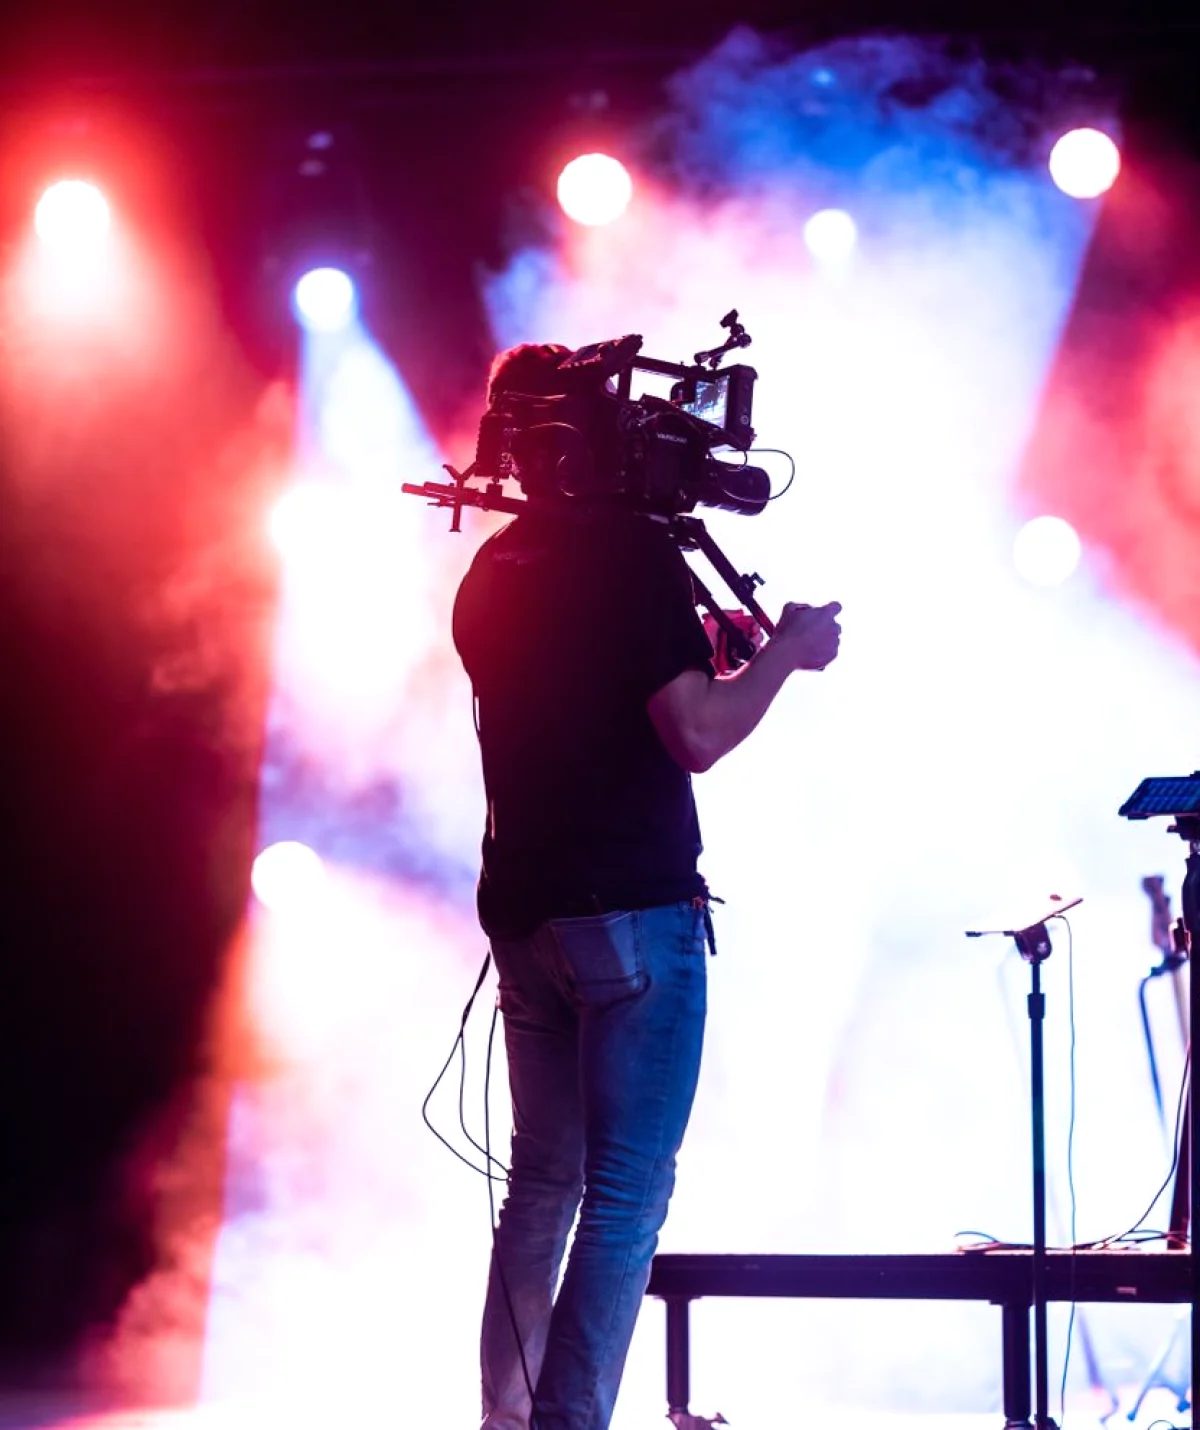
Why autumn changes the picture
Once the clocks shift and evenings arrive early, more launches move into the late afternoon and after dark. Rooms that felt bright in summer now depend almost entirely on the lighting rig, and that changes what a camera can see. A reveal that looked crisp at a midday walkthrough can turn flat or noisy at six in the evening, when the daylight from the doors has gone.
I ask learners in the filming module to visit the venue at the hour the event will actually run. Stand where the camera will stand, look at the stage, and note how much light falls on the presenter's face compared with the product. Write it down before anything else. Those notes decide where cameras go, which lenses you ask for and how much setup time you protect.
- Visit at the same hour as the event
- Note light on the face and on the product
- Write down window and door light sources
Placing the first camera
Start with one wide camera that sees the whole stage, the screen and the product table. This is your safety shot. If every other camera fails, the wide still tells the story of the launch from beginning to end. Place it centrally, a little above eye level, with a clear line over the heads of the seated audience.
Then check the sightline at the busiest moment, not the quietest. People stand up, phones rise, and photographers drift into the aisle. In practice sessions we mark the camera position with tape and walk the room as if doors had just opened. A position that survives that walk is worth keeping. One that does not should move before the first guest arrives, not during the opening remarks.
Framing the speaker
A speaker shot works best when it leaves room to breathe. Frame from mid-chest to just above the head, with a little space in the direction they look. Tight framing feels intense in a rehearsal and cramped on a screen, especially when a presenter paces or gestures toward a slide.
Talk to the presenter about stage positions before the camera plan is final. If they mark two spots and keep to them, the operator can pre-set focus and exposure for each. Where the speaker wanders, widen the frame and accept a looser shot. Learners often try to chase movement with zoom. A steadier habit is to agree the movement first, then frame for it.
- Leave space in the direction of the gaze
- Agree stage marks with the presenter
- Pre-set focus for each mark
Capturing the reveal from several angles
The reveal is the moment the whole event leans toward, and it only happens once. Plan at least three views of it: a wide that shows the audience reaction, a medium on the presenter and a close shot on the product itself. Each camera needs to know the cue, and the operator on the close shot needs to know the exact second the cover comes off.
In our module the class runs the reveal five or six times with a stand-in object. Each pass, the cameras adjust a little. By the last run the close operator has found the right focus distance and the director has settled the cut order. That repetition is what makes the live moment look unhurried to the people watching.
Dealing with dark rooms and reflective products
Low light pushes cameras toward higher sensitivity, and the result is grain on shadows and skin. Ask for more light on the presenter and the product rather than relying on the camera to compensate. Even a modest increase at the front of the stage makes the footage cleaner and gives the colorist, if there is one, something to work with.
Glossy surfaces bring their own trouble. Metal and glass catch every stray reflection, including the stage lights and the camera itself. Turn the product a few degrees during rehearsal and watch the monitor. Small changes in angle often remove a glare completely. Do this before the doors open, because nobody enjoys adjusting a product on stage while an audience watches.
- Add light at the front, not gain in the camera
- Check reflections on glossy surfaces
- Test product angle on the monitor
A short checklist for the coming weeks
Before each autumn event, confirm the start time against sunset and decide whether any daylight will reach the stage. Book the rehearsal at the same hour. Walk the camera positions with the presenter, tape each mark and keep a spare battery for every operator, since cold loading docks and long setup days drain them faster than expected.
Finally, agree who calls the reveal and who confirms it was captured. A quick check with each operator straight afterward saves a difficult conversation later. If something was missed, you know while the product is still on the stage and a second take is possible.
Good stage filming in autumn comes down to arriving early, looking at the room in the light it will really have, and agreeing every position before the audience does. Cameras, marks and cues are simple on their own; the craft is in making them work together on the evening. Learners in this module practice that routine until it feels ordinary, so that the reveal itself can look effortless.
